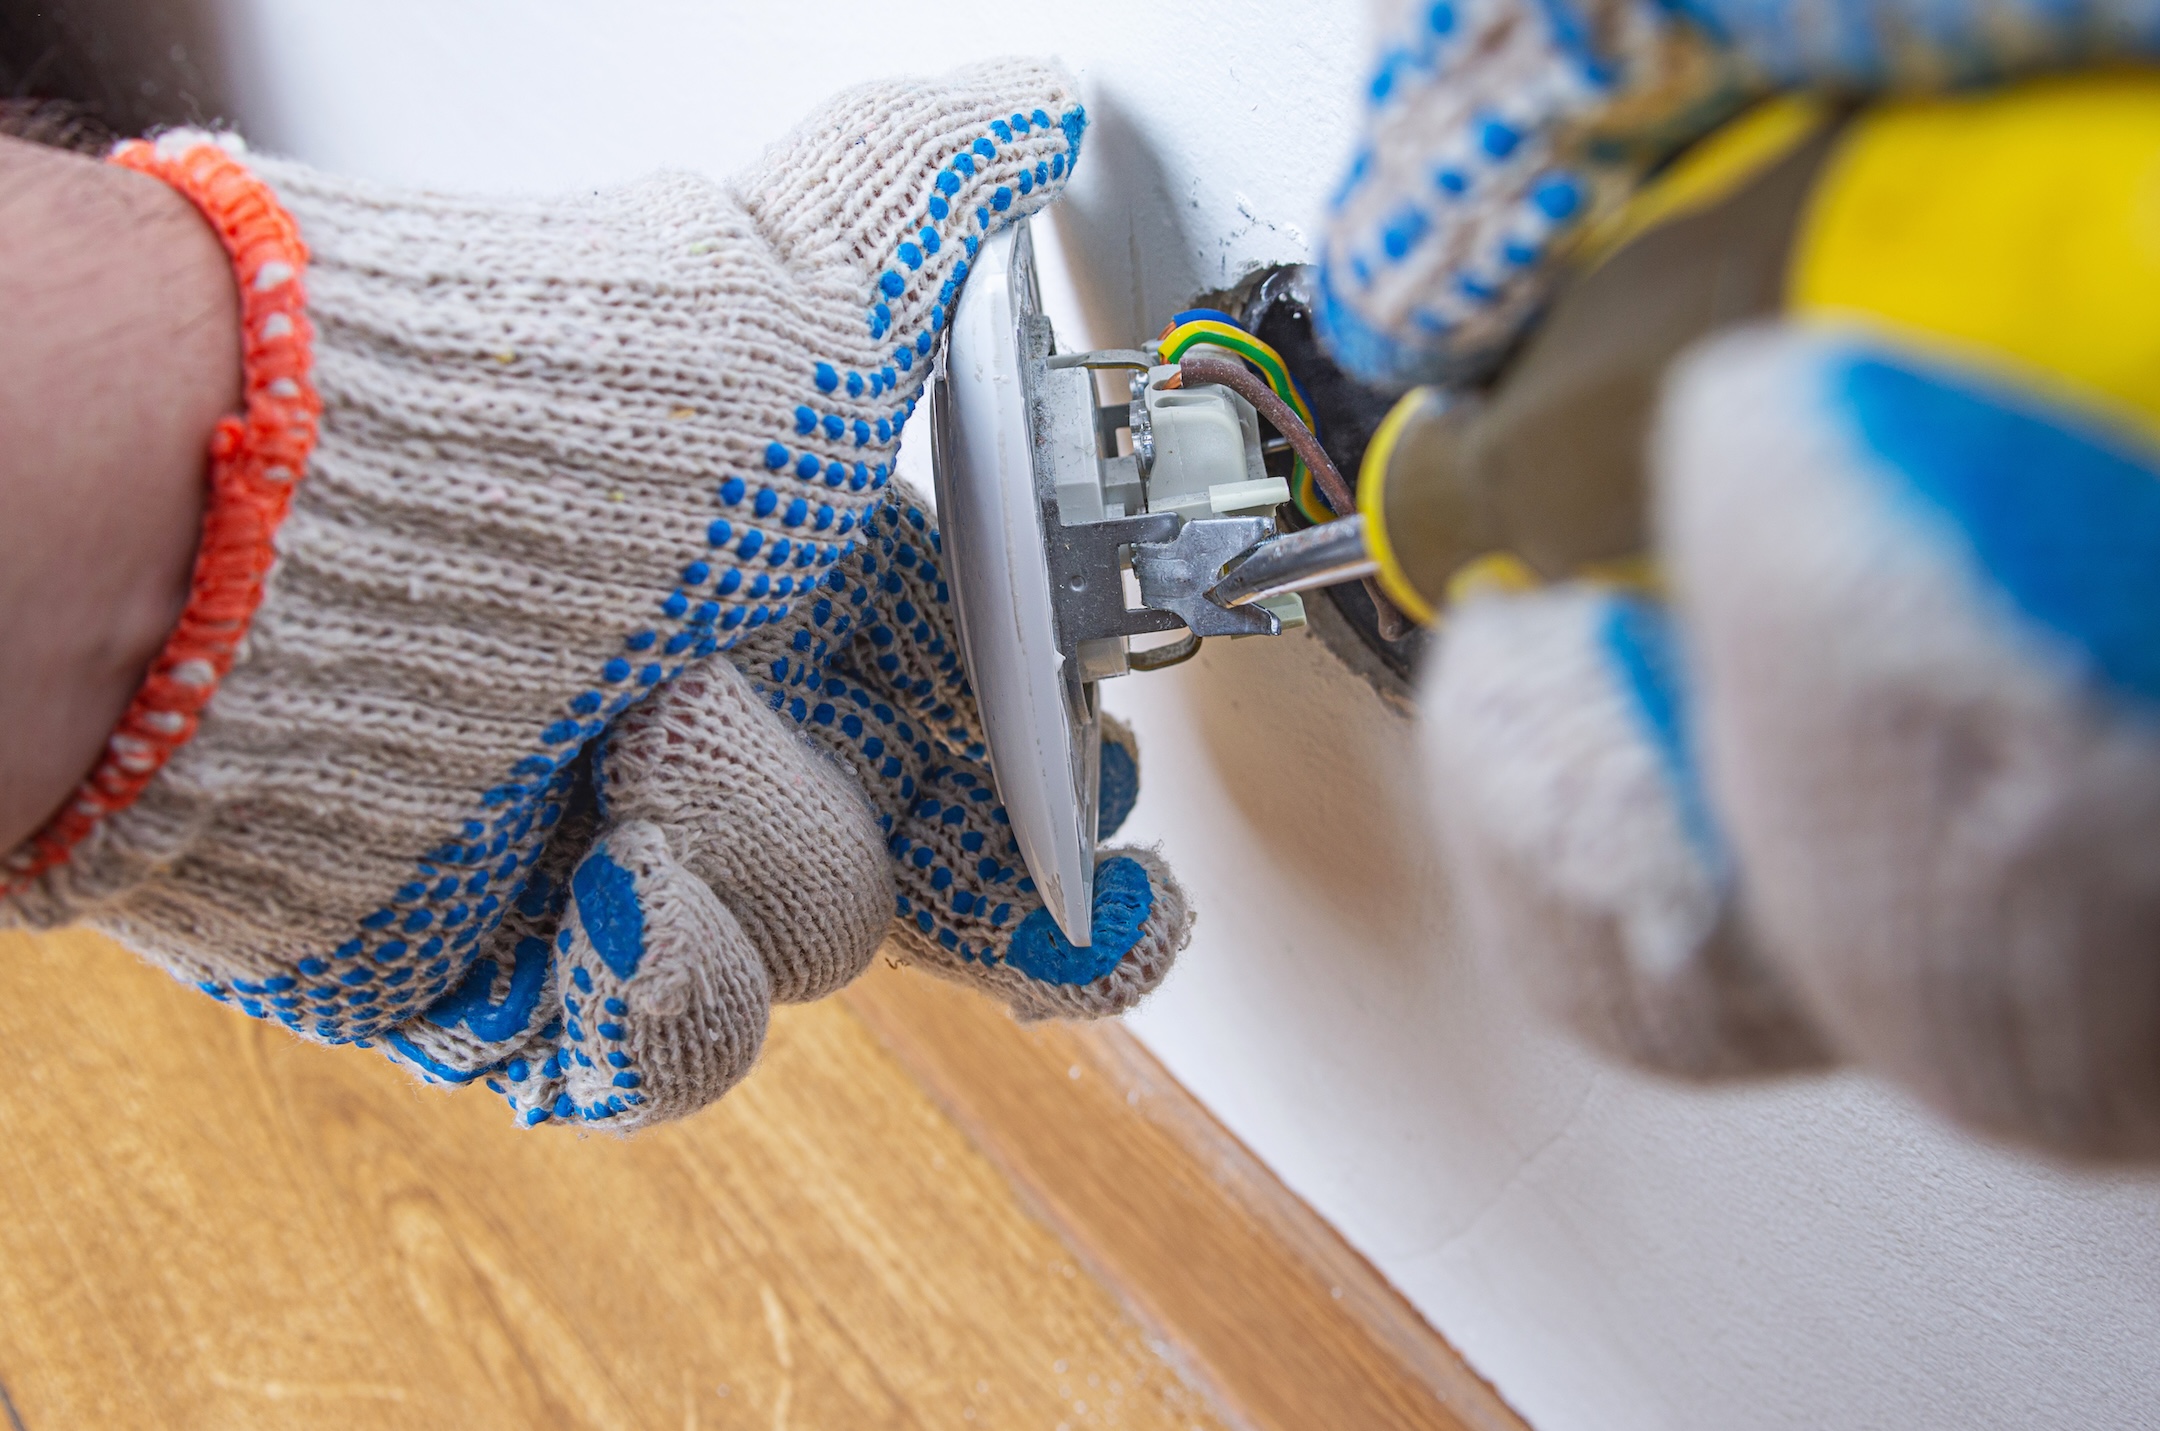
7 Steps for Replacing Outlets: Process Guide for Homeowners
If you’re considering replacing outlets in your home, understanding the process can help you recognize when a project may be straightforward and when it’s best left to a professional. Outlets experience daily wear from appliances, electronics, chargers, and other devices. Over time, they can become loose, damaged, outdated, or simply stop functioning properly. For homeowners dealing with worn receptacles, faulty wiring, or outlet upgrades, professional outlet and wiring services can help ensure the job is completed safely and correctly.
While some homeowners attempt outlet replacement themselves, it’s important to remember that working with electricity always carries risks. Proper installation helps ensure safety, reliable performance, and compliance with current electrical codes.
In this guide, we’ll cover:
- Why outlets need replacement
- 7 steps involved in replacing outlets
- Common mistakes to avoid
- Signs it’s time to call an electrician
- Frequently asked questions
Why Homeowners Replace Outlets

Electrical outlets don’t last forever. Constant plugging and unplugging eventually wears down internal components, making outlets less secure and potentially less safe.
Some common reasons for replacing outlets include:
- Loose receptacles: Plugs fall out easily or do not fit securely.
- Physical damage: Cracks, discoloration, or broken components.
- Outdated designs: Older outlets may lack modern safety features.
- Burn marks: Evidence of overheating or arcing.
- GFCI upgrades: Improved protection in kitchens, bathrooms, garages, and outdoor areas.
In many cases, replacing an aging outlet can improve both safety and convenience.
7 Steps For Replacing Outlets
While every installation may vary slightly, professional electricians typically follow a consistent process when replacing outlets.
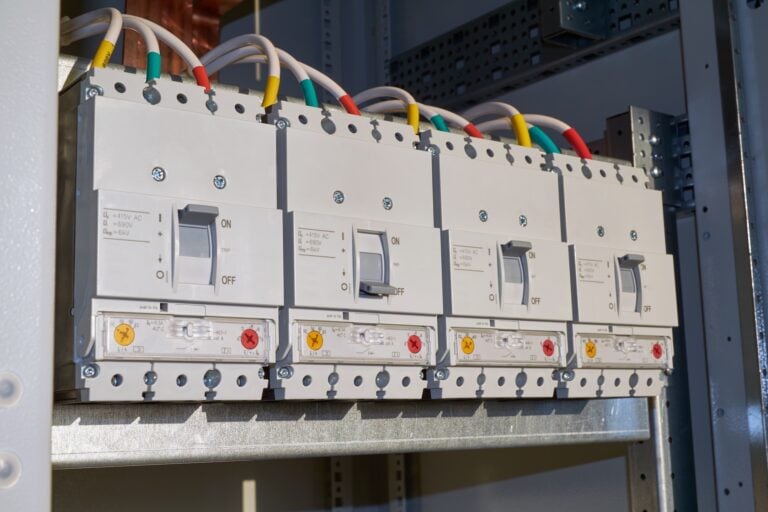
1. Turn Off Power At The Breaker
Before any work begins, power must be disconnected from the circuit serving the outlet.
- Locate the breaker: Identify the correct circuit.
- Shut off power: Turn the breaker to the off position.
- Confirm power loss: Verify the outlet is no longer energized.
This step helps reduce the risk of electrical shock during the replacement process.
2. Test The Outlet
Simply switching off a breaker is not enough. Electricians verify power has actually been disconnected.
- Use a voltage tester: Confirm no voltage is present.
- Check both receptacles: Test upper and lower outlet openings.
- Verify surrounding devices: Ensure the entire circuit is de-energized.
Testing helps prevent accidental contact with energized conductors.
3. Remove The Existing Outlet
Once power has been verified off, the old outlet can be removed.
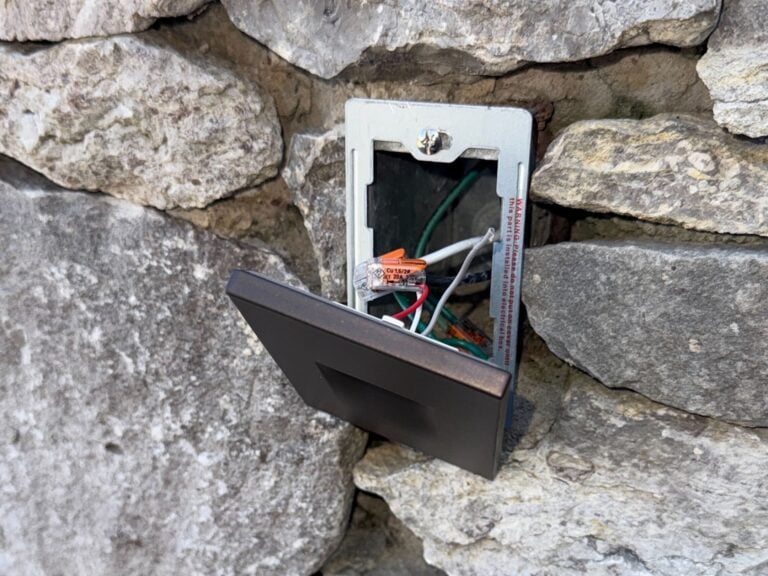
- Remove the cover plate: Access the outlet body.
- Unscrew the receptacle: Release it from the electrical box.
- Pull the outlet forward: Expose wiring connections.
This allows the wiring configuration to be inspected before installation of the replacement device.
4. Inspect Wiring And Connections
Before installing a new outlet, electricians evaluate the condition of the wiring.
- Inspect wire insulation: Look for damage or deterioration.
- Check wire connections: Identify loose or corroded terminations.
- Verify grounding: Ensure the grounding conductor is present and properly connected.
Addressing wiring concerns now can help prevent future problems.
5. Connect The New Outlet
The replacement receptacle is then wired according to current standards.
- Connect hot conductors: Attach wires to the appropriate terminals.
- Connect neutral conductors: Ensure proper polarity.
- Connect grounding wire: Maintain equipment grounding protection.
Correct wiring is critical for safe outlet operation.
6. Secure The Outlet And Cover Plate
After wiring is completed, the outlet is installed back into the electrical box. According to the Electrical Safety Foundation International, the National Electrical Code currently requires GFCIs in all kitchens, bathrooms, garages, and outdoor areas — making a professional outlet replacement visit an ideal opportunity to verify that the right level of protection is in place throughout the hom
- Position the receptacle: Align it properly within the box.
- Secure mounting screws: Prevent movement during use.
- Install cover plate: Protect internal components.
A properly secured outlet helps reduce long-term wear and stress on wiring connections.
7. Restore Power And Test Operation
The final step involves restoring power and verifying proper functionality.
- Turn the breaker back on: Re-energize the circuit.
- Test the outlet: Confirm proper voltage and operation.
- Verify device performance: Ensure plugs fit securely and operate normally.
Successful testing confirms the replacement was completed correctly.

Common Mistakes To Avoid
Outlet replacement may appear simple, but several mistakes can create safety concerns or operational problems.
- Skipping voltage testing: Assuming power is off without verification.
- Incorrect wire placement: Reversing hot and neutral connections.
- Loose terminal screws: Creating heat buildup and poor connections.
- Ignoring damaged wiring: Installing a new outlet without addressing underlying issues.
- Overfilling electrical boxes: Creating cramped and potentially unsafe conditions.
Avoiding these mistakes helps improve both safety and reliability.
Outlet Replacement Cost Comparison
Several factors influence the cost of replacing outlets, including accessibility, outlet type, and the condition of existing wiring.
| Replacement Type | Typical Complexity |
| Standard outlet replacement | Low |
| GFCI outlet installation | Moderate |
| Tamper-resistant outlet upgrade | Moderate |
| USB outlet installation | Moderate |
| Multiple outlet replacement project | Moderate to High |
| Wiring repair with replacement | High |
A professional evaluation can provide a more accurate estimate based on your home’s specific needs.
Benefits Of Professional Outlet Replacement
Many homeowners choose professional installation because it provides added confidence and safety.
- Code-compliant installation: Meets current requirements.
- Accurate troubleshooting: Identifies hidden wiring issues.
- Proper grounding verification: Improves safety.
- Reliable performance: Reduces future outlet problems.
- Long-term value: Helps protect connected electronics and appliances.
Professional service can often prevent costly repairs caused by installation mistakes.
When To Call An Electrician
Certain situations should always be evaluated by a licensed electrician rather than handled as a DIY project.
- Burning smells: Possible overheating or arcing.
- Scorched outlets: Evidence of heat damage.
- Repeated breaker trips: Potential circuit issues.
- Missing ground wires: Safety concerns.
- Multiple dead outlets: Possible wiring faults.
- Aluminum wiring: Requires special handling techniques.
These issues may indicate larger electrical concerns beyond a simple outlet replacement.
Common FAQs
Replacing outlets is a common home improvement project, but many homeowners still have questions about safety, costs, and installation requirements.
How Often Should Electrical Outlets Be Replaced?
There is no fixed replacement schedule. However, outlets that are damaged, loose, discolored, or no longer hold plugs securely should typically be replaced as soon as possible.
Can I Replace An Outlet Myself?
Some homeowners replace outlets themselves, but electrical work always carries risk. If you are unfamiliar with wiring practices or local code requirements, professional installation is recommended.
What Is The Difference Between A Standard Outlet And A GFCI Outlet?
A GFCI outlet provides additional protection against electrical shock by shutting off power when ground faults are detected. These outlets are commonly required in moisture-prone locations.
Why Does My New Outlet Still Not Work?
If a replacement outlet does not function properly, the issue may involve the breaker, wiring, GFCI protection, or another component on the circuit. Additional troubleshooting may be required.
Upgrade Your Outlets With Waybright Electric

Safe outlet replacement starts with proper installation and careful attention to wiring details. Whether you’re upgrading outdated receptacles, installing GFCI protection, or replacing damaged outlets, professional service helps ensure reliable results.
Waybright Electric provides expert outlet and wiring services for homeowners throughout the Tulsa area. If you’re ready to upgrade aging outlets or address recurring outlet issues, request your outlet evaluation today. Our experienced electricians can help improve safety, functionality, and peace of mind throughout your home.

Recent Articles
Our Electrical Journal